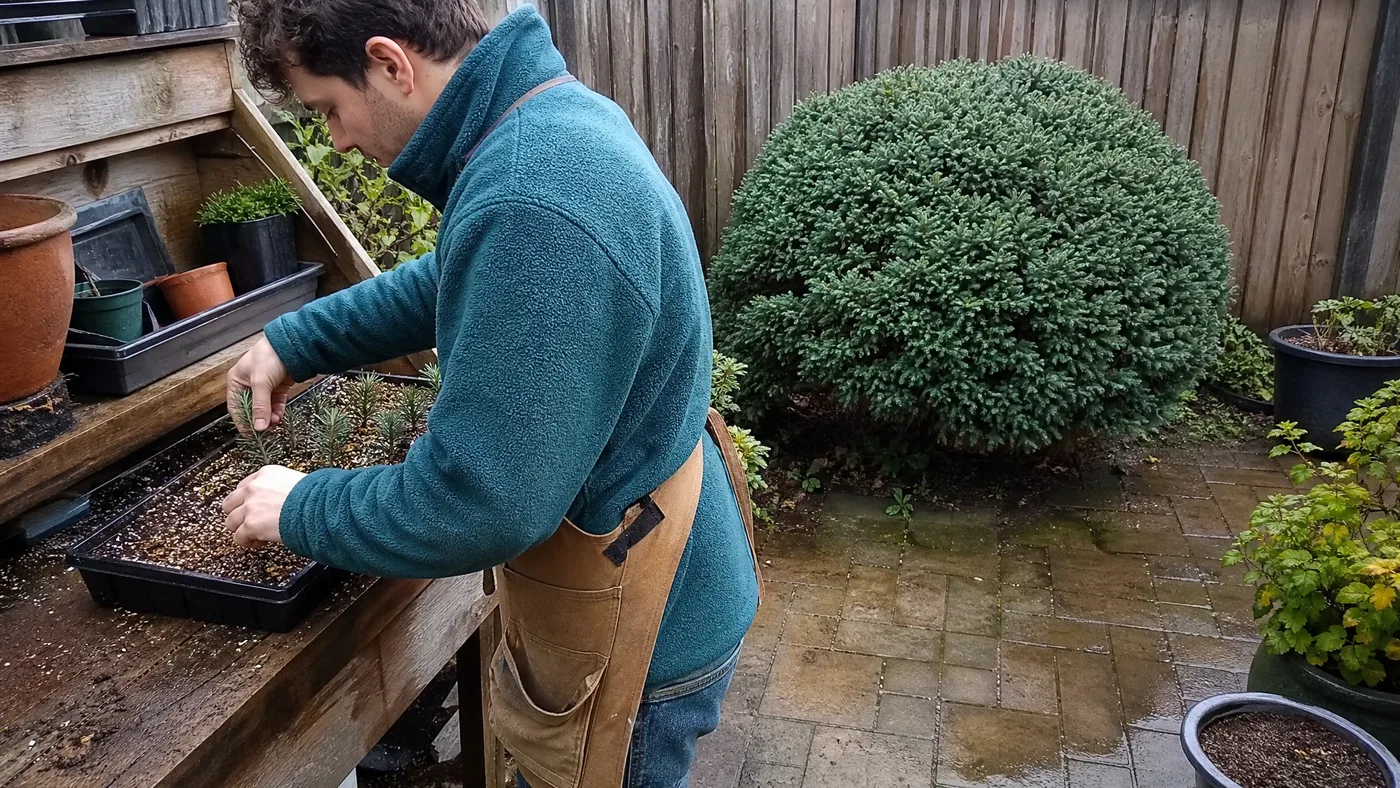
How to Propagate Dwarf Japanese Cedar from Cuttings
A rooted cutting of Dwarf Japanese Cedar costs almost nothing in cash and a couple of years in time. Most people expect the reverse, a quick copy of a plant they already own. What they get is a slow trade: cuttings that sit for weeks before anything visible happens, then a plant that stays small for a long time afterward.
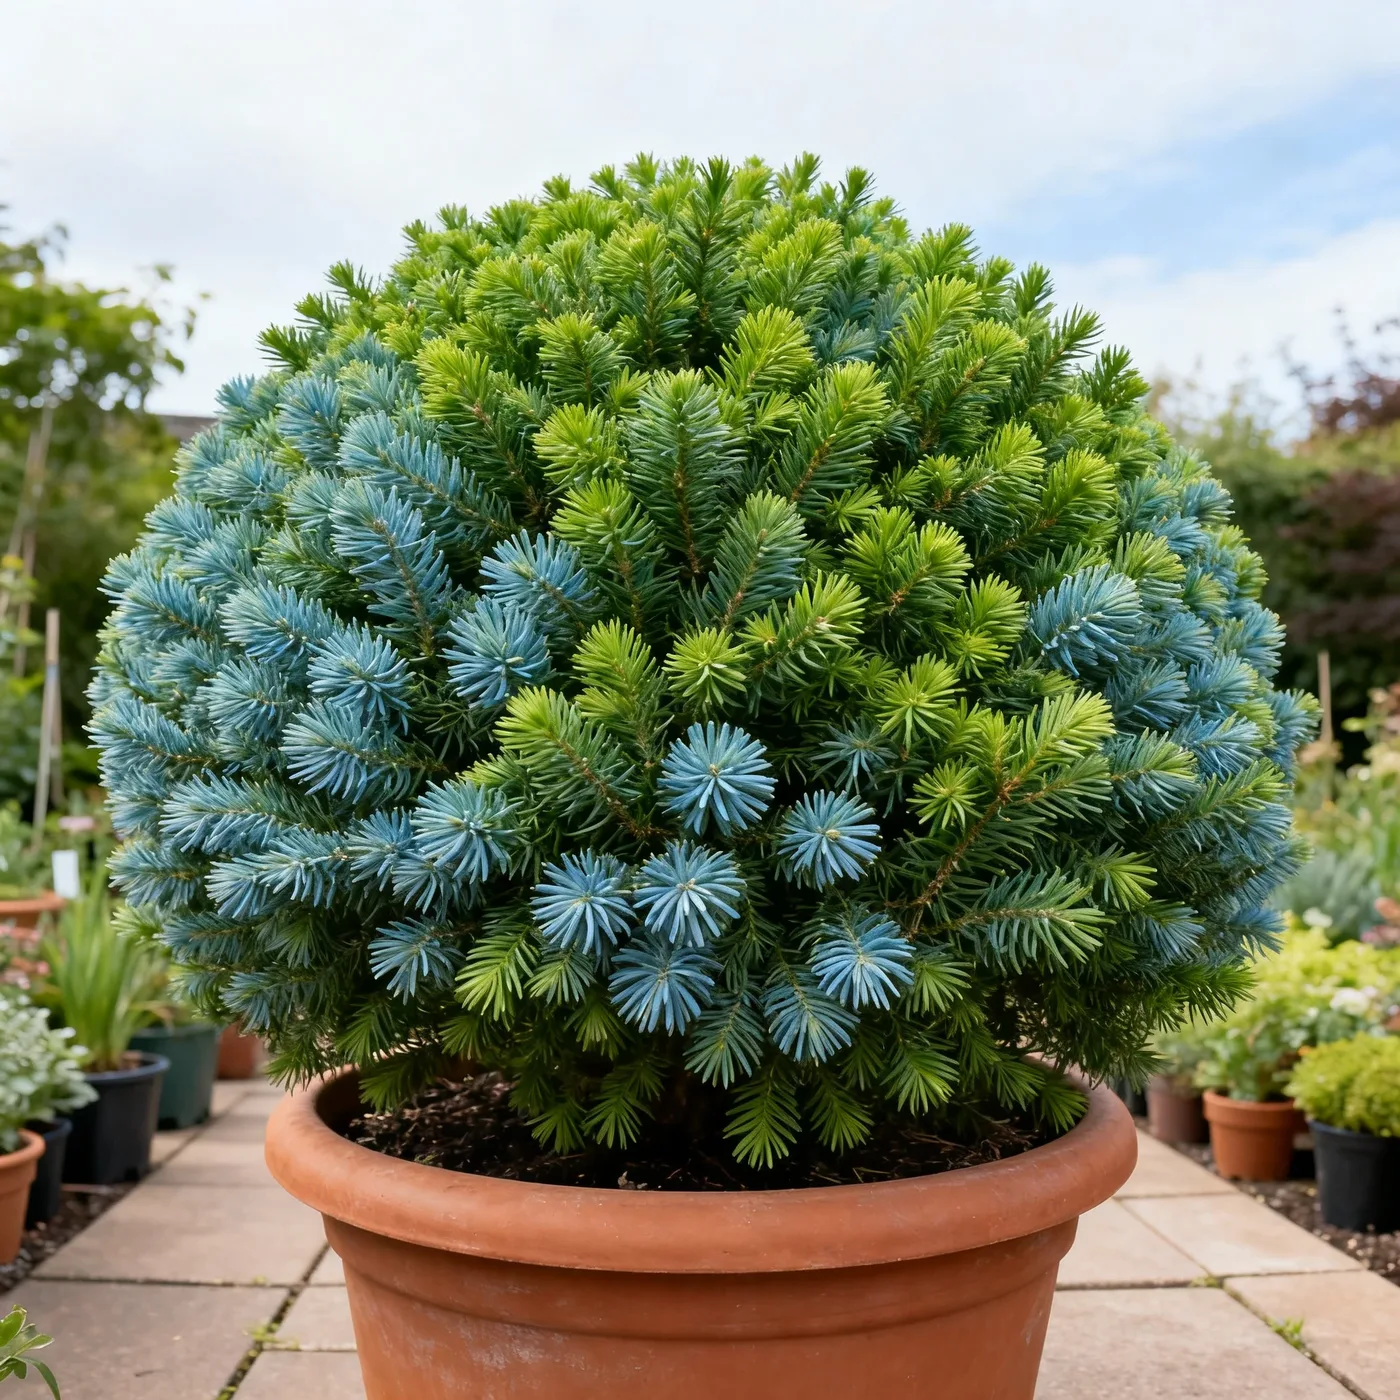
Cuttings are still the only sensible route. Seed does not give true-to-type cultivars, and the species itself grows 50 to 70 feet tall. A cutting carries the parent's dome habit with it.
In this article, we'll go through budgeting time and bench space, taking and preparing the cuttings, the rooting medium and humidity, and potting up your rooted plants.
Budgeting Years and Space for Dwarf Japanese Cedar Cuttings
Before you cut anything, price the job in years. Dwarf Japanese Cedar is slow-growing and takes 10–20 years to reach ultimate size. A rooted cutting will therefore stay small for a long time. That suits a patient planner, because the plant is cheap to make and easy to place, but it will not fill a gap quickly.
Its mature size is 2 to 4 feet tall and 3 to 4 feet wide, so you can plan spacing in the landscape from day one. Write that down next to the date you take the cuttings.
What the Cuttings Cost You
The cash outlay is a bag of grit, a pot of rooting hormone, some trays and a clear cover. The real cost is time. Plan on a full growing season before a cutting is a plant you could set outside, and longer before it looks like a dome. If you would rather skip those first years, we grow Dwarf Japanese Cedar to several container sizes.
Some advice online says to sow seed instead because it is cheaper and faster. For this plant it is neither. You wait just as long and the seedlings will not match the parent.
Bench Space and Success Rate
Not every cutting will root, and we cannot give you a reliable percentage for this cultivar. Take more cuttings than you want plants and plan space for all of them. A few trays on a sheltered bench or in a cold frame cover most home projects. Keep the space out of strong wind, since the cultivar wants a sheltered position.
If your parent came from a trade tag, confirm the cultivar name first. Nurseries sometimes sell unnamed dwarf globe forms under this name, and your cuttings will be whatever the parent is.
Taking Cuttings From a Healthy Dwarf Japanese Cedar Parent
Propagate this cultivar by semi-hardwood cuttings in late summer. Semi-hardwood means the current season's shoots have firmed up at the base but the tips are still actively growing. On a plant that grows slowly, that window is easy to miss, so mark it on your calendar and check the parent shoots by feel.
Choosing the Shoots
Pick a parent that is healthy and well established, with even bluish-green needles and no browning or dieback. Choose vigorous side shoots from the current year rather than old, woody growth or soft, floppy tips. Avoid any shoot with spotted or blighted needles. Leaf spot and leaf blight are the species' known problems, and you do not want to root them.
Cut in the cool of the morning, when shoots are full of water, and keep them out of the sun and wrapped in damp paper until you are ready.
Cutting Without Scarring the Parent
This cultivar has a naturally rounded habit and needs no pruning to hold its shape, so every cutting you take is a visible gap that fills slowly. Take a little from several places around the back and sides of the dome rather than a lot from one spot. Use clean, sharp pruners and cut just above a branch junction so no stub is left behind.
A well-grown parent will not mind a few dozen small cuts spread out like this. A single large hole, on the other hand, can stay obvious for years.
Preparing the Cut and Dipping in Hormone
Preparation takes minutes per cutting and decides much of your result. The aim is a clean base that exposes fresh tissue to the rooting hormone, with no needles buried in the medium to rot. Work at a clean bench, keep the cuttings damp, and do not let them sit out. Cuttings that dry between cutting and sticking rarely recover.
Trimming and Wounding
Recut each shoot to a manageable length of a few inches with a clean slanted cut just below a node. Strip the needles from the lower portion of the shoot, which is the part that will go in the medium. Then wound the base. Use a clean knife to scrape a thin sliver of bark from one side of the stripped base to expose the green tissue underneath.
Wounding matters more on semi-hardwood than on soft cuttings because the older tissue is slower to form roots. Keep the wound shallow. You are exposing tissue, not cutting into the wood.
Applying Rooting Hormone
Use a rooting hormone made for semi-hardwood cuttings and follow the label for strength, because the right dose depends on the product. Pour a little into a separate dish so you do not contaminate the main pot. Moisten the base, dip it so the wound is coated, and tap off the excess. A thick clump of powder can actually hold moisture against the stem and encourage rot.
Stick each cutting straight away. Hormone on the stem does not keep, and the wound should not dry out before it reaches the medium.
Setting Dwarf Japanese Cedar Cuttings in a Gritty Medium
Drainage is the whole point of the mix. The cultivar may be susceptible to Phytophthora root rot, and a cutting with no roots yet cannot take up water that sits around its base. Use a mix that is mostly grit, such as coarse sand or perlite, with just enough peat or fine bark to hold moisture. Avoid ordinary potting compost, which stays too wet.
Filling and Wetting the Tray
Use a tray or pots with drainage holes, and fill them to just below the rim. Wet the mix thoroughly before you stick anything in it, then let it drain. This settles the grit and lets you see how the mix behaves. A properly gritty blend should drain freely and hold a little moisture, not turn to paste when squeezed.
Sterilize reused trays first. Fungal problems begin in dirty containers more often than in the medium itself.
Depth and Spacing
Poke a hole with a pencil or dibber first, so the hormone is not scraped off the stem as you push it in. Set the cutting deep enough that the stripped base and the wound are buried and the cutting stands upright without help, with the needles above the surface. Firm the mix gently around the stem and water once to settle it.
Space the cuttings so the needles of neighbors do not touch. Crowded foliage traps moisture and spreads blight, and you want room to lift one out later without disturbing the rest.
Holding Humidity While Roots Form
Cuttings have no roots to replace the water their needles lose, so the air around them has to stay humid until roots form. Cover the tray with a clear lid, a propagator top or a loose plastic bag held off the foliage with stakes. You want a damp, still pocket of air, not a sealed, dripping box. Mist the inside once a day if the plastic dries out.
Light, Warmth and Air
Give bright shade with no direct sun, which will cook the cover and scorch the needles. Gentle warmth from below helps if you have it, but strong heat is not needed. Vent the cover briefly every day. Clemson advises good air circulation to prevent fungal diseases on the species, and that matters even more under a humid cover.
Remove any needle that browns or any cutting that goes slimy at once. One rotting cutting can start a spreading problem in the tray.
Checking Without Disturbing Roots
Do not pull cuttings out to look for roots. That tears off the fine roots that are just starting. Wait for signs above the surface: fresh growth at the tips, needles that stay firm and green, and a cutting that resists a very light tug. Roots appearing at the drain holes are another sure sign.
Rooting is slow on this plant, so give it many weeks and do not assume failure early. In autumn, the needles may take on the rusty-red tone NC State describes for winter. That is normal color, not death.
Moving Rooted Dwarf Japanese Cedar Into Its First Pots
Move a cutting only once it has a real root system, not at the first sign of a root. Lift one gently and look. If the roots are only a few short threads, put it back and wait. A rushed transplant sets a slow plant back a full season, and with a plant like this you cannot make up the time easily.
Hardening Off
Take the cover off in stages. Leave the lid ajar for a few days, then remove it for part of the day, then leave it off entirely. Keep the tray in bright shade through this. The cultivar likes a sheltered spot, so keep it out of cold wind and midday sun while the new roots toughen.
Potting Up and the First Feeding
Pot each cutting singly in a small pot with the same free-draining mix, perhaps with a little more organic matter. The cultivar likes moist but well-drained soil, so water when the surface begins to dry and never let the pot stand in water. Our guide to the best soil for Dwarf Japanese Cedar covers the mix in more detail.
Hold off feeding until new growth is steady, then use a dilute, balanced feed, as our guide on fertilizing Dwarf Japanese Cedar explains. Keep young plants sheltered over their first winter, using our winter care advice for cold regions.
Two Years on, Your Dwarf Japanese Cedar Pays Back
Two years in, you hold a small, dense plant that is a true copy of its parent. It will not look like much beside a nursery-grown shrub, but it is a plant you made for the price of grit and hormone. From here, the slow habit works for you, because the plant stays manageable for many years.
Pin this up. Late summer of year one: take, wound, dip and stick the cuttings. Through autumn and winter: hold humidity, vent daily and discard failures. Spring of year two: check for roots, harden off and pot up singly. Summer: begin light feeding once growth is steady. Second winter: shelter the pots. Spring of year three: plant out following our planting guide, or keep them in pots and containers on the patio.
Dwarf Japanese Cedar
Nursery-grown Dwarf Japanese Cedar in sizes from 1 Gallon, shipped to your door.
From $39.97
Shop Now →Cutting-grown cedars root slowly, so it helps to know the home they are headed for, and ours is a farm bed that gets sun for most of the day, a little shade at the edges, and soil that stays damp while water drains away. We ship only the plants we would plant ourselves, every tree and shrub of top quality. Once your cuttings are rooting, you can look over the plants we have ready and set a grown cedar beside them.