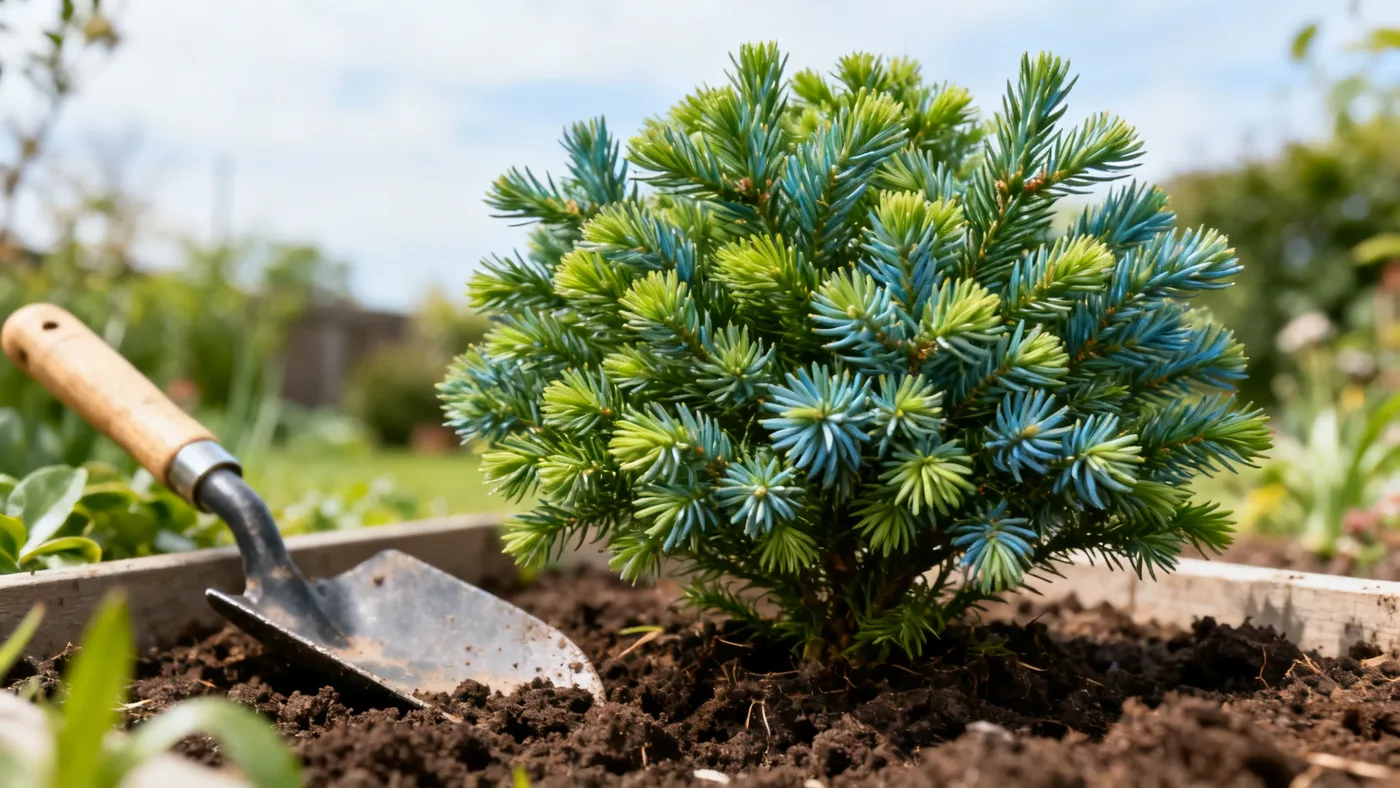
How to Transplant an Established Dwarf Japanese Cedar
Moving an established Dwarf Japanese Cedar requires careful planning and execution, but the process is straightforward if you follow proper technique. Unlike younger plants, established specimens have deeper root systems that need protection and attention during transplanting dwarf japanese cedar. Whether you are relocating to better light, adjusting your landscape design, or moving a mature shrub to a larger space, this guide walks you through every stage of moving dwarf japanese cedar successfully.
When to Transplant Dwarf Japanese Cedar
Timing makes a critical difference in transplanting dwarf japanese cedar. The best window is spring (after frost danger has passed) or early fall, which allows the plant to establish new roots before temperature extremes arrive. In zones 5-6, aim for spring once soil is workable; in zones 7-9, early fall (August through September) is equally strong since cooler autumn weather reduces transplant shock.
Avoid moving your plant in peak summer heat, deep winter cold, or during active growth flushes. Late spring, when new growth is already underway, stresses the shrub further. Similarly, transplanting dwarf japanese cedar in late fall (after October in colder zones) leaves insufficient time for root establishment before winter dormancy.
Size matters too. Plants under 3 years old transplant more forgivingly than older specimens. An established Dwarf Japanese Cedar at 4-5 feet tall is movable but requires more care with the root ball than a smaller 2-foot plant. Plan for a larger root ball and additional support after planting.
Materials and Tools You Will Need
Gather these supplies before you begin digging:
- Sharp spade or transplant shovel
- Pruning saw or lopers (for root severing, if needed)
- Burlap or heavy canvas (at least 6-8 feet square for a substantial specimen)
- Rope or twine (strong enough to secure the root ball)
- Soil amendment: peat moss, compost, or aged bark (3-5 gallons)
- Mulch (pine needles, shredded bark, 2-3 inches deep)
- Watering can or hose with soft spray
- Balanced or acid-formulated fertilizer (e.g., azalea/rhododendron type)
- Gloves and eye protection
- Wheelbarrow (if the plant is large)
Have everything on hand before digging. Once you have severed roots, the clock starts for getting the dwarf japanese cedar root ball into its new home.
Step-by-Step Transplanting Instructions
1. Prepare the New Site First
Do this work before you dig the plant. Choose a location with full sun to part shade; afternoon shade helps in hot or dry climates by reducing foliage scorch. Confirm the spot drains well, especially in wet seasons. Dig a hole slightly wider and at the same depth as the dwarf japanese cedar root ball will be (you will measure this once you begin). The hole should be large enough that roots sit comfortably without bending or circling.
Amend the backfill soil if necessary. Dwarf Japanese Cedar prefers acidic, humus-rich, well-drained soil with a pH around 5.0-6.5. Mix one part compost or peat moss into three parts native soil. If your native soil is heavy clay, add extra compost (up to 50%) to improve drainage and prevent root rot.
2. Water the Plant Thoroughly 24 Hours Before
Water your Dwarf Japanese Cedar deeply the day before you plan to move it. Moist soil sticks to roots and protects them from air exposure. A dry root ball crumbles apart during digging and transplanting dwarf japanese cedar, exposing fine roots that cannot tolerate air exposure. Wet soil holds together and supports the root structure as you work. This simple step makes an enormous difference in transplant success.
3. Measure and Mark the Root Ball Perimeter
Established Dwarf Japanese Cedars generally have a lateral root spread roughly equal to or slightly narrower than their canopy width. For a 4-6 foot wide specimen, expect roots to extend 2-3 feet from the center. Mark a circle around the plant with chalk, rope, or spray paint at this radius. This is your digging line. Staying outside this line reduces root damage significantly.
4. Make Initial Vertical Cuts Around the Perimeter
Using a sharp spade, make a vertical cut around the marked circle, driving the blade down 12-18 inches (deeper for larger specimens, up to 24 inches if the plant is very mature). Work your way around the entire circle, then repeat the cut, going deeper each pass. This severs the lateral roots gradually and signals the plant to callus off damaged roots. Avoid hacking; use controlled, deliberate cuts.
5. Undercut and Begin Freeing the Root Ball
Once the perimeter roots are severed, work a flat spade under the root ball at an angle, starting opposite to where you are standing. Rock the plant gently to loosen it. Work your way around, lifting from underneath. For a 4-6 foot wide specimen, you may need two people. Tilt and rock gradually; rushing risks snapping remaining roots and stressing the plant unnecessarily.
Once the plant lifts free or sits loose in the soil, you are ready to wrap and move it. This is when timing becomes critical.
6. Wrap the Root Ball and Secure It
Work burlap under the root ball while it still sits in the hole or is partially lifted. Center the plant on the burlap, then wrap it up and around the root ball, securing with twine or rope. Wrap the burlap snugly to keep soil intact during transport. Do this work quickly to minimize root exposure to air and sunlight. Tight wrapping protects the dwarf japanese cedar root ball from drying out and keeps soil intact during the move.
7. Transport the Plant Carefully to the New Location
Slide a cart or wheelbarrow under the burlapped root ball, or use rope to drag it to the new hole if distance is short. Avoid dragging across rough ground, which tears burlap and exposes roots to air. Keep the root ball as level as possible during transport. Tilting stresses root connections and can crack the soil around roots. If the distance is more than 20 feet or the specimen is very heavy, take the time to use a cart.
8. Plant in the New Location at Proper Depth
Set the burlapped root ball in the prepared hole. The top of the root ball should sit level with (or no deeper than) the surrounding grade. A planted dwarf japanese cedar root ball sunk too deep invites standing water and root rot, one of the most common post-transplant problems. Backfill around the root ball with your amended soil mix, firming gently as you go. Do not compact heavily; loose soil allows roots to expand into the new site more readily.
Once backfilled, carefully cut and remove the burlap, working it out from under the root ball. If any burlap remains exposed above grade, pull it back below soil level; exposed burlap wicks water away and inhibits root contact with soil.
9. Water Thoroughly and Apply Mulch
Water the newly transplanted shrub deeply with a soft spray, soaking the root ball and surrounding backfill. Watering settles soil and closes air pockets around roots. Water until the soil is moist 6-8 inches deep. Mulch the area 2-3 inches deep with pine needles or shredded bark, keeping mulch 4-6 inches away from the stem to prevent rot and disease.
Proper mulching conserves moisture and moderates soil temperature during the critical establishment window. Continue watering 2-3 times per week for the next 4-6 weeks, depending on rainfall and local temperature. Dwarf Japanese Cedar is not drought tolerant while establishing, so soil should stay consistently moist but not waterlogged. Stick your finger 2 inches into the soil; if it feels dry, water. If it feels soggy, hold off for a day or two.
Tips to Ensure Transplanting Success
- Avoid pruning immediately after: If you must prune after transplanting, wait until late winter or early spring the following year. Never cut into bare wood; Dwarf Japanese Cedar may not resprout from old growth.
- Fertilize lightly the first season: Add a light application of balanced or acid-formulated fertilizer in early spring after transplanting. Heavy fertilizing stresses an already-recovering plant and can burn tender new roots.
- Monitor drainage closely: If the new site stays soggy after rain, amend the backfill with additional compost or consider relocating again. Root rot from poor drainage is difficult to reverse once it takes hold.
- Stake in windy locations: A tall specimen may benefit from a loose stake for the first growing season in exposed areas. Loosen ties as the stem thickens to avoid girdling.
- Protect from winter exposure: Winter foliage bronzing is normal and not a sign of transplant failure. However, strong wind or winter sun can desiccate foliage on newly transplanted plants. If your plant is in a very exposed site, consider a light burlap screen for the first winter.
- Space properly in the landscape: Space Dwarf Japanese Cedars 4-6 feet apart if planting multiple specimens, allowing room for mature width of 4-6 feet.
Common Mistakes to Avoid
- Transplanting during heat stress: Summer moves lead to wilting, foliage scorch, and root failure. Stick to spring and early fall windows for best results.
- Planting too deep: A root ball buried deeper than its natural soil line invites standing water and root rot. The grade should match the top of the root ball exactly.
- Leaving exposed burlap above soil: Burlap above soil line wicks moisture away and prevents soil contact. Pull it down after planting every time.
- Over-fertilizing the first season: New roots are tender and sensitive to salt burn from excess fertilizer. Skip heavy fertilizing until the second growing season.
- Insufficient watering during establishment: Dwarf Japanese Cedar needs consistent moisture for 4-6 weeks after transplanting. Dry-out is a common cause of post-transplant decline and eventual death.
- Transplanting when the plant is actively flushing: New growth is tender and susceptible to shock. Wait until growth slows or flushes are hardened.
For more detailed guidance on long-term care after transplanting is complete, see our Dwarf Japanese Cedar care guide, which covers watering, pruning, pest management, and seasonal care for established plants.
Quick Reference: Transplanting Checklist
| Task | Timing | Key Points |
|---|---|---|
| Choose transplant season | Spring or early fall | Zones 5-6: spring preferred; zones 7-9: fall works well. Avoid summer and late fall. |
| Prepare new planting site | Before digging | Full sun to part shade; well-drained; acidic soil (pH 5.0-6.5); dig hole to size of root ball |
| Water plant thoroughly | 24 hours before | Moist soil protects roots during digging and transport |
| Measure root ball diameter | Day of transplant | Roughly equal to canopy width; mark circle for digging |
| Cut and undercut roots | 2-3 hours | Vertical cuts 12-18 inches deep; work gradually around perimeter |
| Wrap and transport | Before root exposure | Burlap tightly secured; keep root ball level; use cart for distance over 20 feet |
| Plant in new hole | Same day if possible | Root ball top level with grade; gently backfill; remove burlap after backfilling |
| Water and mulch | Immediately after | Deep watering; 2-3 inch mulch; 4-6 inches from stem |
| Ongoing establishment care | 4-6 weeks | Consistent moist soil (not soggy); water 2-3x per week; no heavy fertilizer |