Why Is My Dwarf Japanese Cedar Turning Brown?
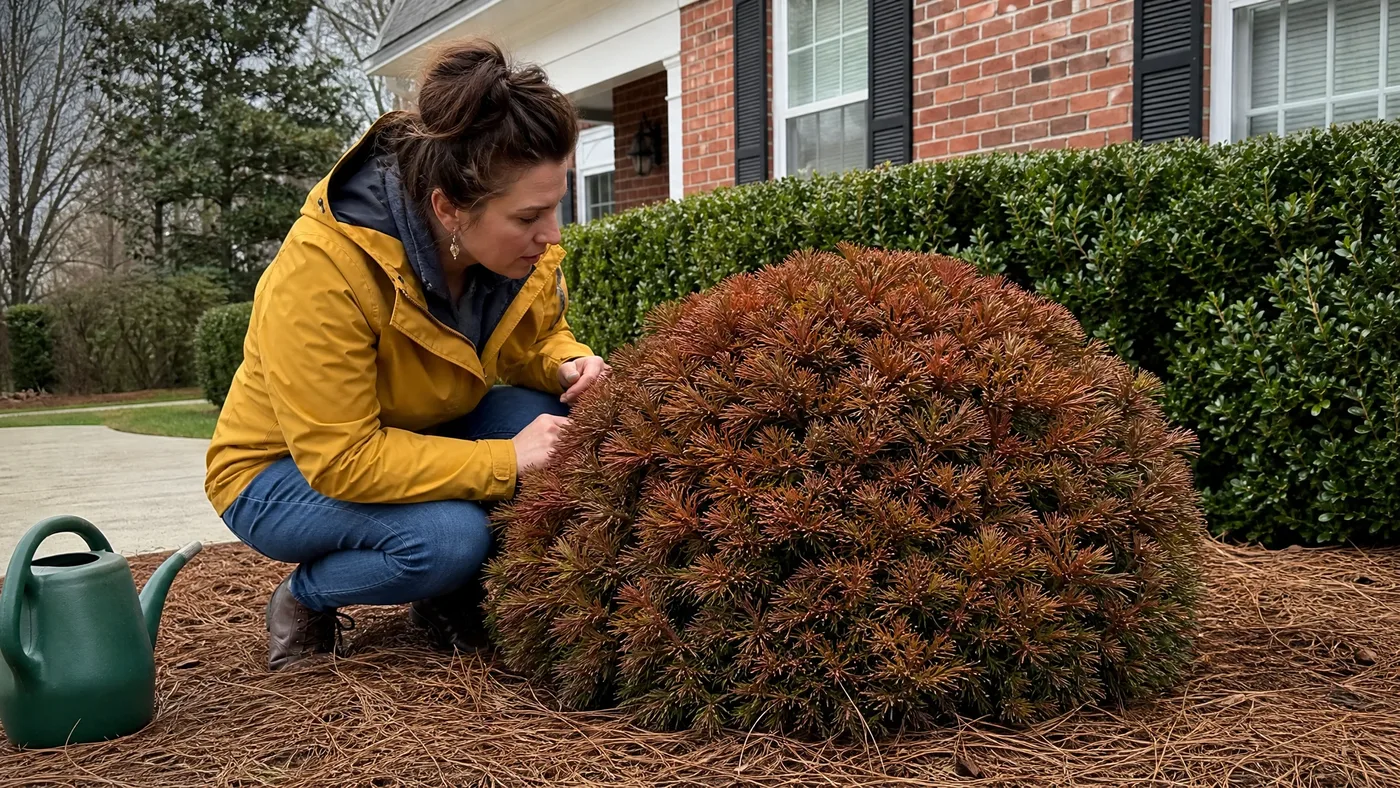
One Tuesday morning, an owner walked past a young Dwarf Japanese Cedar with a coffee and spotted a single brown tuft, about the size of a thumb, on the sunny side of the dome. By Friday they had checked it twice, watered it twice, and still could not say whether to worry. The tuft alone said nothing, but where it sat and what the green around it looked like said almost everything.
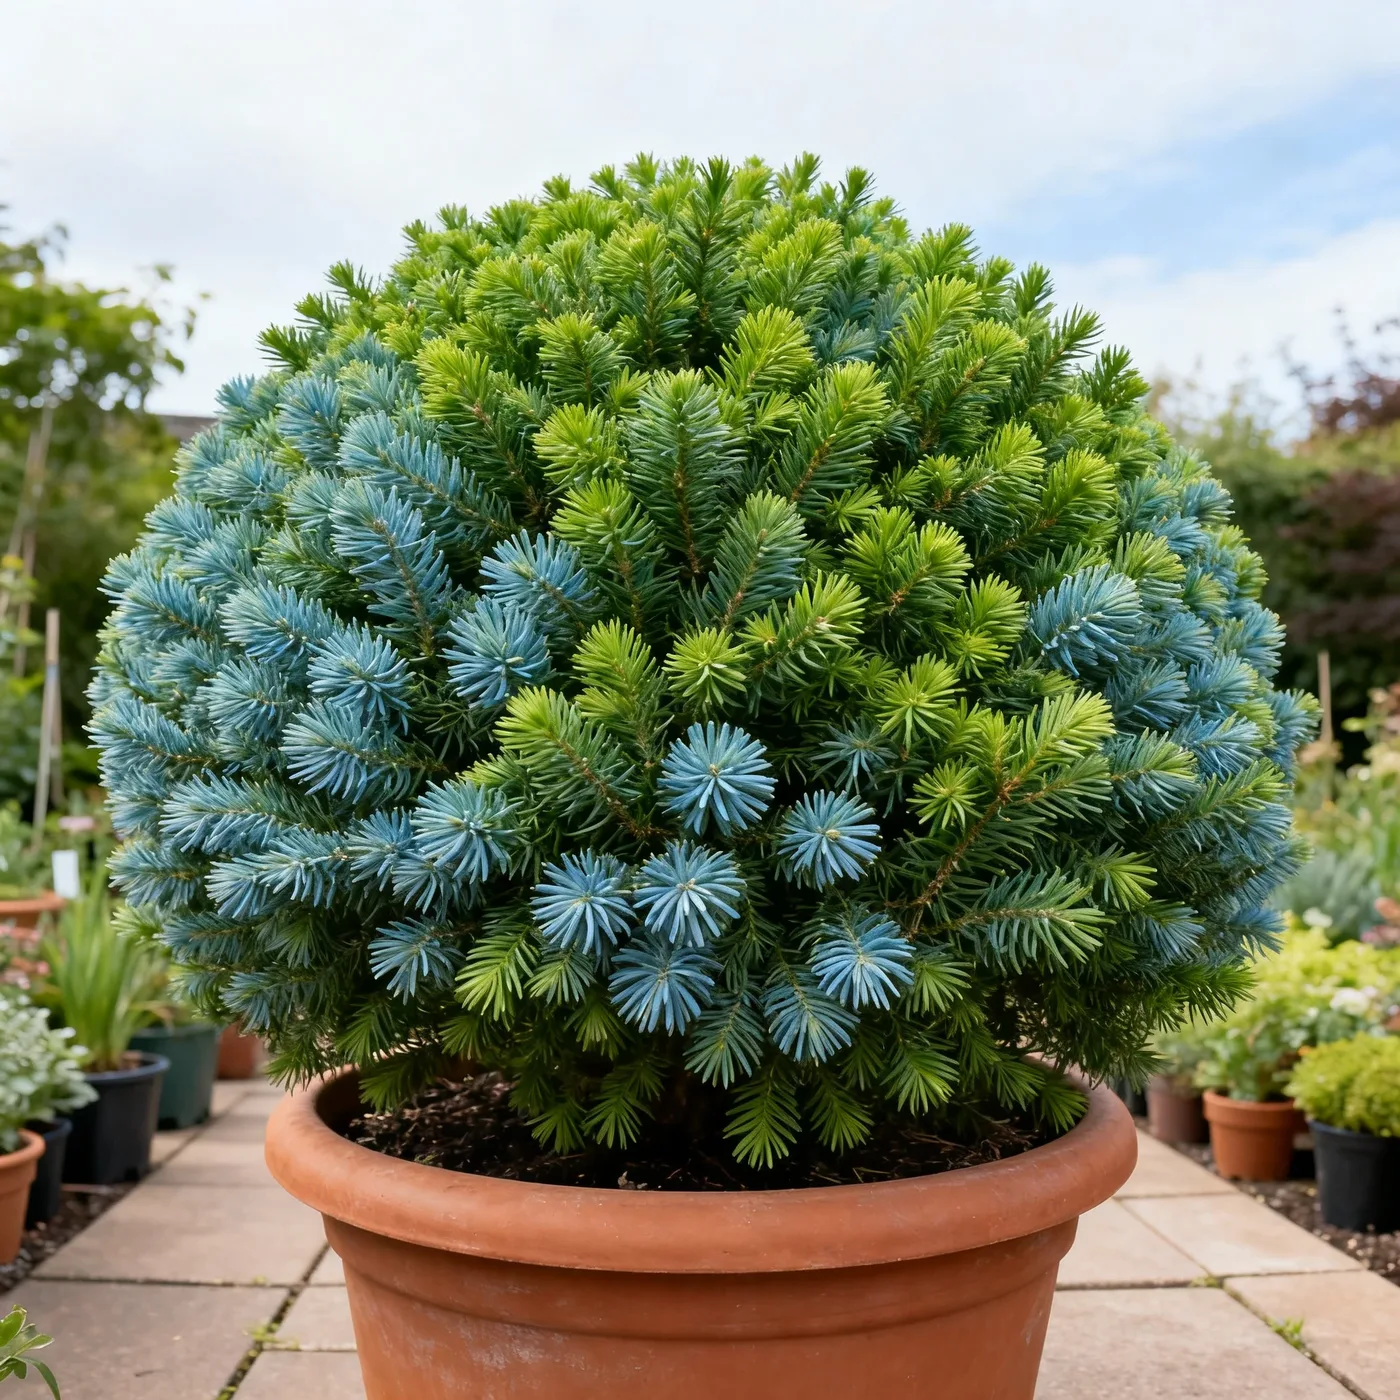
Browning matters on this shrub because a small dome carries little foliage to spare, and the wrong fix, such as more water on a drowning root system, makes the damage spread. Read on for how to locate the browning, match it to watering, winter color, blight, pests, fertilizer or soil, and decide what to cut and how long to wait.
Start by Locating the Browning on Your Dwarf Japanese Cedar
Every cause in this guide leaves a different pattern, so your first job is to note where the brown sits before you touch a hose or a pruner. Stand back and look at the whole dome, then walk up close and part the outer needles to see the interior. Five minutes of looking narrows seven possible causes to one or two.
Read the Pattern
The table below pairs each pattern with its usual cause and the section that covers the fix.
| Where the brown sits | Most likely cause | Go to |
|---|---|---|
| Tips of outer needles, crisp and dry | Drought stress | Brown tips section |
| Whole branches, dull and limp, soil wet | Waterlogged roots | Brown tips and soil sections |
| Even rusty-red across the whole dome in cold months | Normal winter color | Winter bronze section |
| Patches that spread from the inside out in mild weather | Fungal blight | Winter bronze section |
| Fine speckling, webbing or sticky needles | Mites, scale or bagworms | Pest section |
| Scorched edges days after feeding | Fertilizer or salt burn | Fertilizer section |
Run Three Quick Checks
Push a finger into the soil at the edge of the root zone to see whether it is bone dry or soggy. Tap a browning branch over a sheet of white paper and look for moving specks. Then gently bend a brown twig, because a flexible twig is alive and a brittle one that snaps is not.
If the brown is limited to shaded needles deep inside while the outer shell stays green, treat it as the least urgent pattern. Dense domes shade their own interiors, and old inner foliage often browns quietly. Outer-shell browning is the pattern that deserves action.
Brown Tips After Dry Spells or Soggy Feet
Water causes more browning on this shrub than any other factor, and it works in both directions. The sources disagree on drought. NC State calls the cultivar drought resistant, while one Arkansas extension profile says the species lacks drought tolerance. What we tell customers is to treat a young plant, or any plant in a pot, as thirsty until it proves otherwise.
Dry Tips Call for Slow Watering and Mulch
Dry browning starts at the needle tips on the sunniest, windiest side, and the foliage feels crisp. The soil a little below the surface is dry too. Soak the whole root zone slowly at the base until water has gone down well past the top layer, then let the surface dry slightly before the next soak.
Add a layer of mulch over the root zone, kept off the trunk, so the soil holds moisture through hot spells. Our watering guide covers frequency in more detail.
Soggy Feet Mean Stop Watering First
Waterlogged roots look different. Whole branches lose their sheen, turn dull yellow-brown and droop, and the soil stays wet even days after you watered. One of the most common questions we get is whether a browning plant needs more water, and in our rows the answer is no more often than yes.
If the soil is wet, stop watering and let it dry down. Pull mulch back from the base to let the crown breathe. If the plant sits in a low spot or heavy clay, the water is only a symptom, and the soil section below is where your real fix lives.
Winter Bronze or Dwarf Japanese Cedar Blight? How to Tell
This is the call most owners get wrong, because both look brown from the driveway. The cultivar's bluish-green, awl-shaped needles turn rusty-red during the winter months, and some cultivars bronze in cold weather. That change is the plant's normal wardrobe, so do not treat it.
Signs of Harmless Winter Color
Winter color is even. The whole dome shifts to the same rusty or plum-bronze tone, the needles stay flexible, and the base of each needle often keeps a hint of green. It arrives with cold weather and fades back to green as growth resumes in spring. If that matches your plant, leave it alone, and see our winter care guide for protection in the colder zones.
Signs of Blight or Dieback
Blight is uneven. Leaf blights and fungal diseases are the species' main disease risks, and leaf spot is another one. Look for brown patches that begin inside the dome or low on the plant, spread along individual twigs, and keep advancing in mild, humid weather when winter color should be fading. Needles come away dry and the twig tips die back.
Snip out affected twigs back into healthy tissue on a dry day, and rake up fallen needles. Thin nearby plants so air moves through the dome, because good air circulation helps limit fungal disease.
Many people grab a fungicide first, but we would remove the dead tissue and fix the airflow before spraying anything. If it keeps spreading, ask your local extension service which product suits your region.
Speckled Needles and Webbing From Pests
Clemson calls the species typically insect-free, so pests are rarely the first suspect. They show up when the plant is already stressed, usually in hot, dry, dusty spots. Match what you see to the culprit below before you buy any spray.
Mites and Their Fine Webbing
Mites leave a pale, dusty stippling that gives the needles a gray or bronzed look in warm weather. Look for silky webbing between twigs. Hold white paper under a branch, tap it, and check for tiny specks that crawl.
Rinse the whole dome, including the undersides, with a firm stream of water every few days, then repeat. Dry, hot spots invite mites, so fix any drought stress at the same time.
Scale Bumps and Sticky Residue
Scale appears as small, hard or waxy bumps stuck along the twigs, often with sticky honeydew on the needles beneath and sometimes a black sooty film. Scrape a bump with a fingernail. If it lifts as a tiny shell, it is scale. On a shrub this small, you can scrub or prune off light infestations and use horticultural oil for heavier ones, following the label.
Bagworms and Their Hanging Bags
Bagworms build spindle-shaped bags that hang from the branches, covered in bits of the needles themselves. The feeding inside leaves browned patches around the bag. Pick the bags off by hand and drop them in soapy water. Because the dome is only 2 to 4 feet tall, this is realistic, and coverage with any treatment is far easier than on a full-size cryptomeria.
Scorched Edges After Fertilizer
Fertilizer burn follows a clear timeline. The browning appears within days to a few weeks after you fed, and it favors the side where the granules landed, or the whole plant if you used a liquid or a heavy dose. Needle tips and edges turn tan to brown while the tissue closer to the stem stays green.
Check the mulch for leftover granules, because they confirm the cause. The same pattern appears near driveways and walks where de-icing salt splashes. The species is only slightly salt tolerant, so do not count on the plant to shrug off salts. A slow-growing shrub that finishes at 2 to 4 feet needs far less feeding than most owners give it.
How to Flush the Soil
Brush any granules off the mulch and soil first. Then water slowly and deeply, letting the water soak through the root zone, and repeat several times over the next day or two so that dissolved salts move below the roots. In a pot, run water through until it drains freely from the holes several times, and empty the saucer each time.
Hold off on further feeding until new growth shows you what survived. Our guide on whether you need to fertilize at all explains when feeding helps, and most established plants in decent soil do fine without it.
When Dense Soil Turns Dwarf Japanese Cedar Brown From Below
This cause hides under the others. The cultivar tolerates soil of any texture and pH, and the species requires good drainage, so the problem is almost never soil type. It is water that has nowhere to go. Compacted fill, clay beneath a shallow planting hole and a basin that collects runoff all drown the roots slowly.
Confirm the Drainage Problem
Dig a hole near the plant to roughly the depth of the rootball and fill it with water. If water is still standing the next day, drainage is your culprit. Then expose a few roots at the edge of the dome. Firm, light roots are alive, while brown, soft, foul-smelling roots are rotting.
We often see plants set in a hole with smooth, hard sides, where roots circle in a bowl of wet soil and never reach the surrounding ground.
Lift and Replant, or Leave It
If most roots are firm, lift the plant, break up the hard bottom of the hole, mix in material that improves drainage, and replant slightly high so the crown sits at or just above the surrounding grade. Our soil guide walks through the drainage fixes in detail.
If most roots are mushy, trim off the dead ones and replant in a better-drained spot, but expect a slow recovery. If the roots are only mildly affected, you can instead raise the bed around it and stop overwatering. Do any lifting in cool weather, not during a heat wave.
Cutting Back and Waiting on Brown Dwarf Japanese Cedar
The naturally rounded habit needs no maintenance to keep its form, so the pruner is for removing dead tissue and nothing else. Do not shear the dome to even it out after browning. Cutting into live green growth only adds another wound to a plant already under stress.
What to Trim and What to Leave
Remove twigs that are brittle, snap cleanly and show brown all the way through. Cut them back to where living green growth begins. Leave anything flexible, anything with a green inner layer under the bark, and any brown tips on branches that still carry green farther in. Winter-bronzed foliage stays on the plant.
Avoid cutting back into bare, needleless wood. Conifers like this one often do not push new growth from old bare wood, so a hole you cut there tends to remain a hole. Our pruning guide covers the cuts in more detail, and the rule stands: when in doubt, leave it another month.
How Long to Wait
Judge recovery by new growth, not by how the old needles look. Brown needles do not turn green again, so fixing the cause means watching for fresh green tips as growth resumes. Give the plant a full growing season after you correct the problem. If green buds are expanding on the dome, keep going. If nothing has moved by the end of that season, move to the final test below.
A Brown Dwarf Japanese Cedar Is Not Always a Dead One
Most browning on this shrub is recoverable once you find the cause, because the damage usually starts at the needle tips or the roots and the stems stay alive. Plants are lost mainly to long-term waterlogging, which kills the roots, and to blight that is left to spread through the whole dome. Everything else, from winter bronze to a feeding mistake, fades or grows out.
Before you decide to dig it out, do the scratch test. Pick a brown stem and use a thumbnail to scrape a small patch of bark near the tip. Green and moist underneath means alive, so keep waiting. Scrape again closer to the trunk, and if you find green at some point along the branch, cut back to there. Tan, dry and brittle all the way to the base means that stem is finished.
Dwarf Japanese Cedar
Nursery-grown Dwarf Japanese Cedar in sizes from 1 Gallon, shipped to your door.
From $39.97
Shop Now →Brown tips are easier to judge when you know what a happy cedar looks like, and ours get a sunny spot with light shade at the edges, in beds where the soil stays moist but never soggy because the water drains freely. We are a small grower-run business, so we ship only plants we would plant ourselves, and that includes every top-quality tree and shrub. If you would like to replace a lost cedar or begin again with a fresh one, see the plants we have ready.